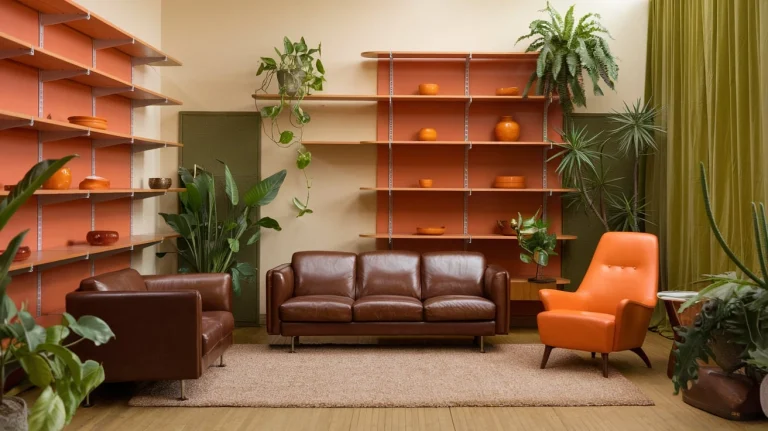
Want to change up a room? But don’t want the mess of regular wallpaper?
Trust me, peel and stick wallpaper might be perfect for you!
If you like quick and easy DIY projects, this is it. It makes a big difference.
I tried this wallpaper recently. And I’m excited to tell you all about it.
This guide shows you everything. From figuring out how much you need to putting it up around tricky spots.
Let me show you how easy it is!
Why Choose Removable Wallpaper?
It’s super easy to use. But it also has a lot of other good things:
- Easy to Put Up and Take Down: Forget messy glue! You just peel off the back and stick it on. Taking it down is just as easy. No sticky stuff left behind. I tried it, and my walls were totally fine!
- Great for Renters: Get a cool look without breaking your lease. This is a game-changer if you can’t make big changes.
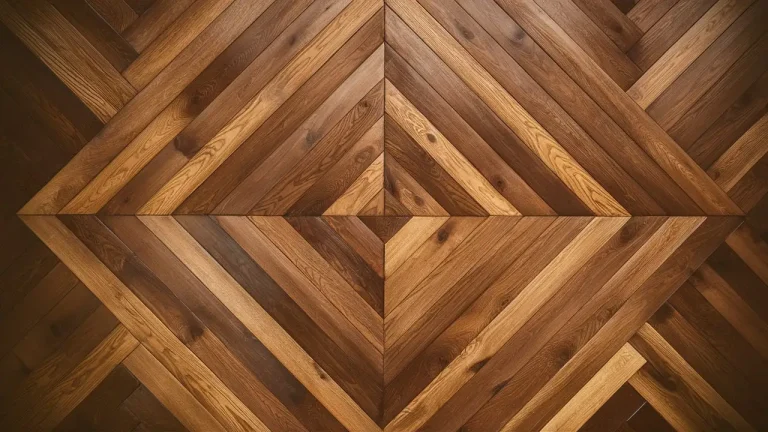
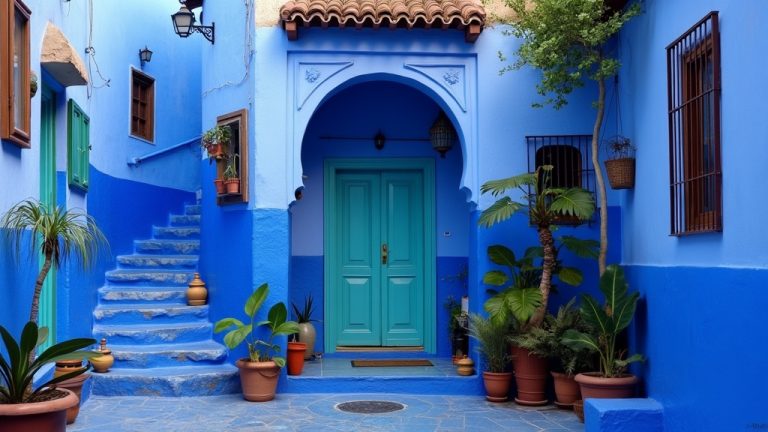
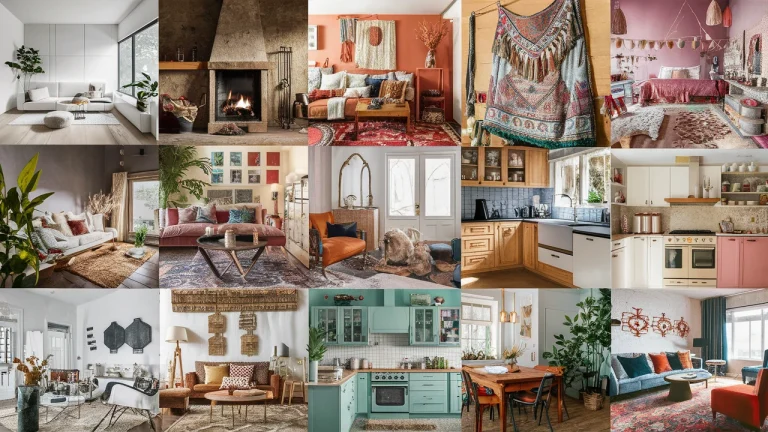
- Lots of Designs: You can find all kinds of patterns and colors. Like bold shapes or simple textures. There’s a peel and stick wallpaper for everyone. You’ll find something that fits your style.
- Doesn’t Cost a Lot: It’s cheaper than regular wallpaper. And you don’t have to pay someone to put it up. You get a fancy look without spending too much.
- Easy to Fix Mistakes: Messed up? No problem! You can move it around without hurting the wallpaper or the wall. That’s why I love it – it’s not stressful!
Tools for Your Wallpaper Project
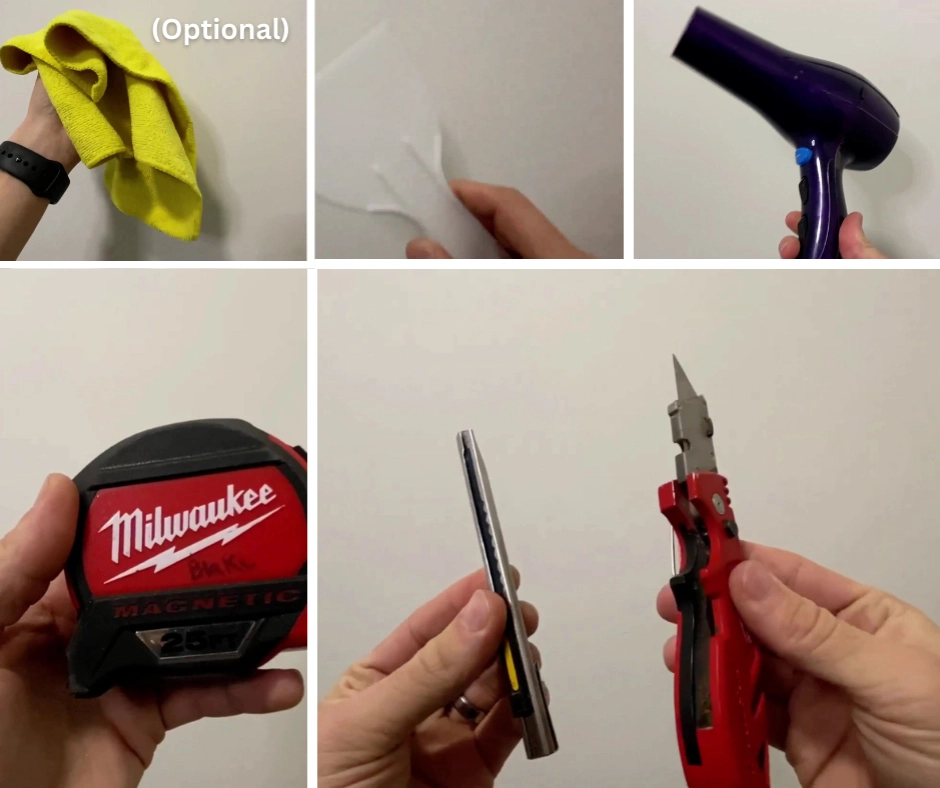
Before you start, get these things. You probably have most of them already:
- Utility Knife: For cutting. A sharp one is important!
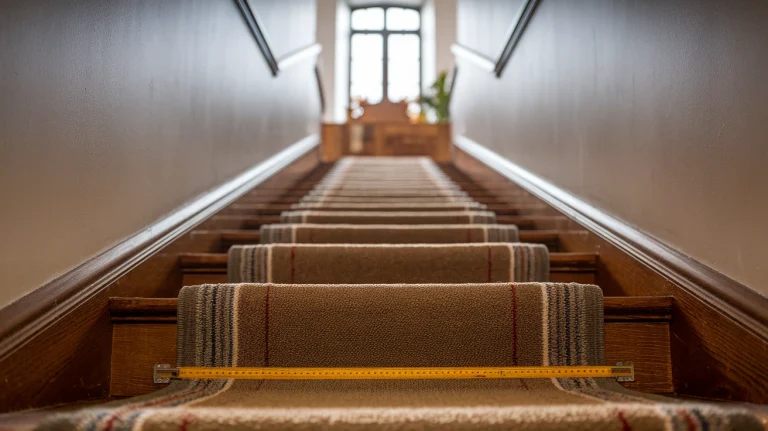
- Tape Measure: For measuring your walls. You need to know how much wallpaper to get. Accurate measuring is super important!
- Hair Dryer: Helps with any wrinkles.
- Plastic Putty Knife (or Smoothing Tool): Helps you press it down and get rid of air bubbles.
- Soft Towel (Optional): Use this to protect the wallpaper. It’s helpful if your putty knife is rough.
Step-by-Step Application Guide for Peel and Stick Wallpaper
Let’s do it! Here’s how to put up your wallpaper:
1. Calculate How Much Wallpaper You Need:
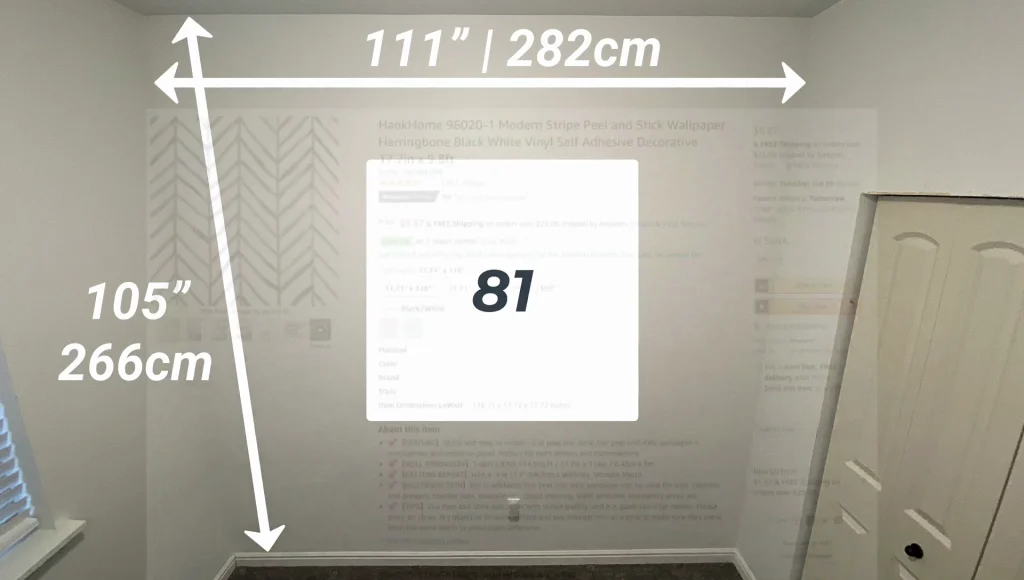
Measure how tall and wide your wall is. Use inches. Multiply those two numbers. Then divide by 144. That gives you the square footage.
Look at the wallpaper roll. It will say how much it covers (maybe around 14.5 square feet).
Divide your wall’s square footage by the roll’s coverage. That tells you how many rolls to get. Always get an extra roll. Trust me! It’s better to have too much. Especially when matching patterns.
2. Get Your Walls Ready:
This wallpaper is pretty easy to use. But make sure your walls are clean, dry, and smooth.
You might want to test a small spot first. It even works on walls with a little bit of texture. I tried it, and it worked great!
3. How To Apply:

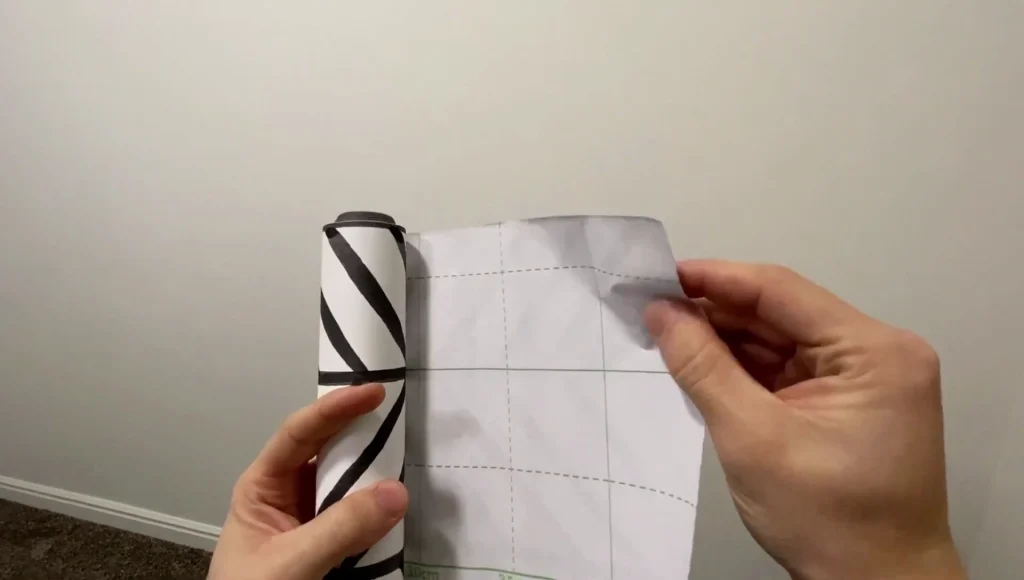
- Start at a corner of your wall. The top is usually best.
- Peel back a little bit of the backing. Like a big sticker.
- Line up the wallpaper with the edge of your wall and ceiling.
- If your ceiling isn’t straight (mine wasn’t!), you can let the wallpaper go over the edge a bit. You can cut it later.
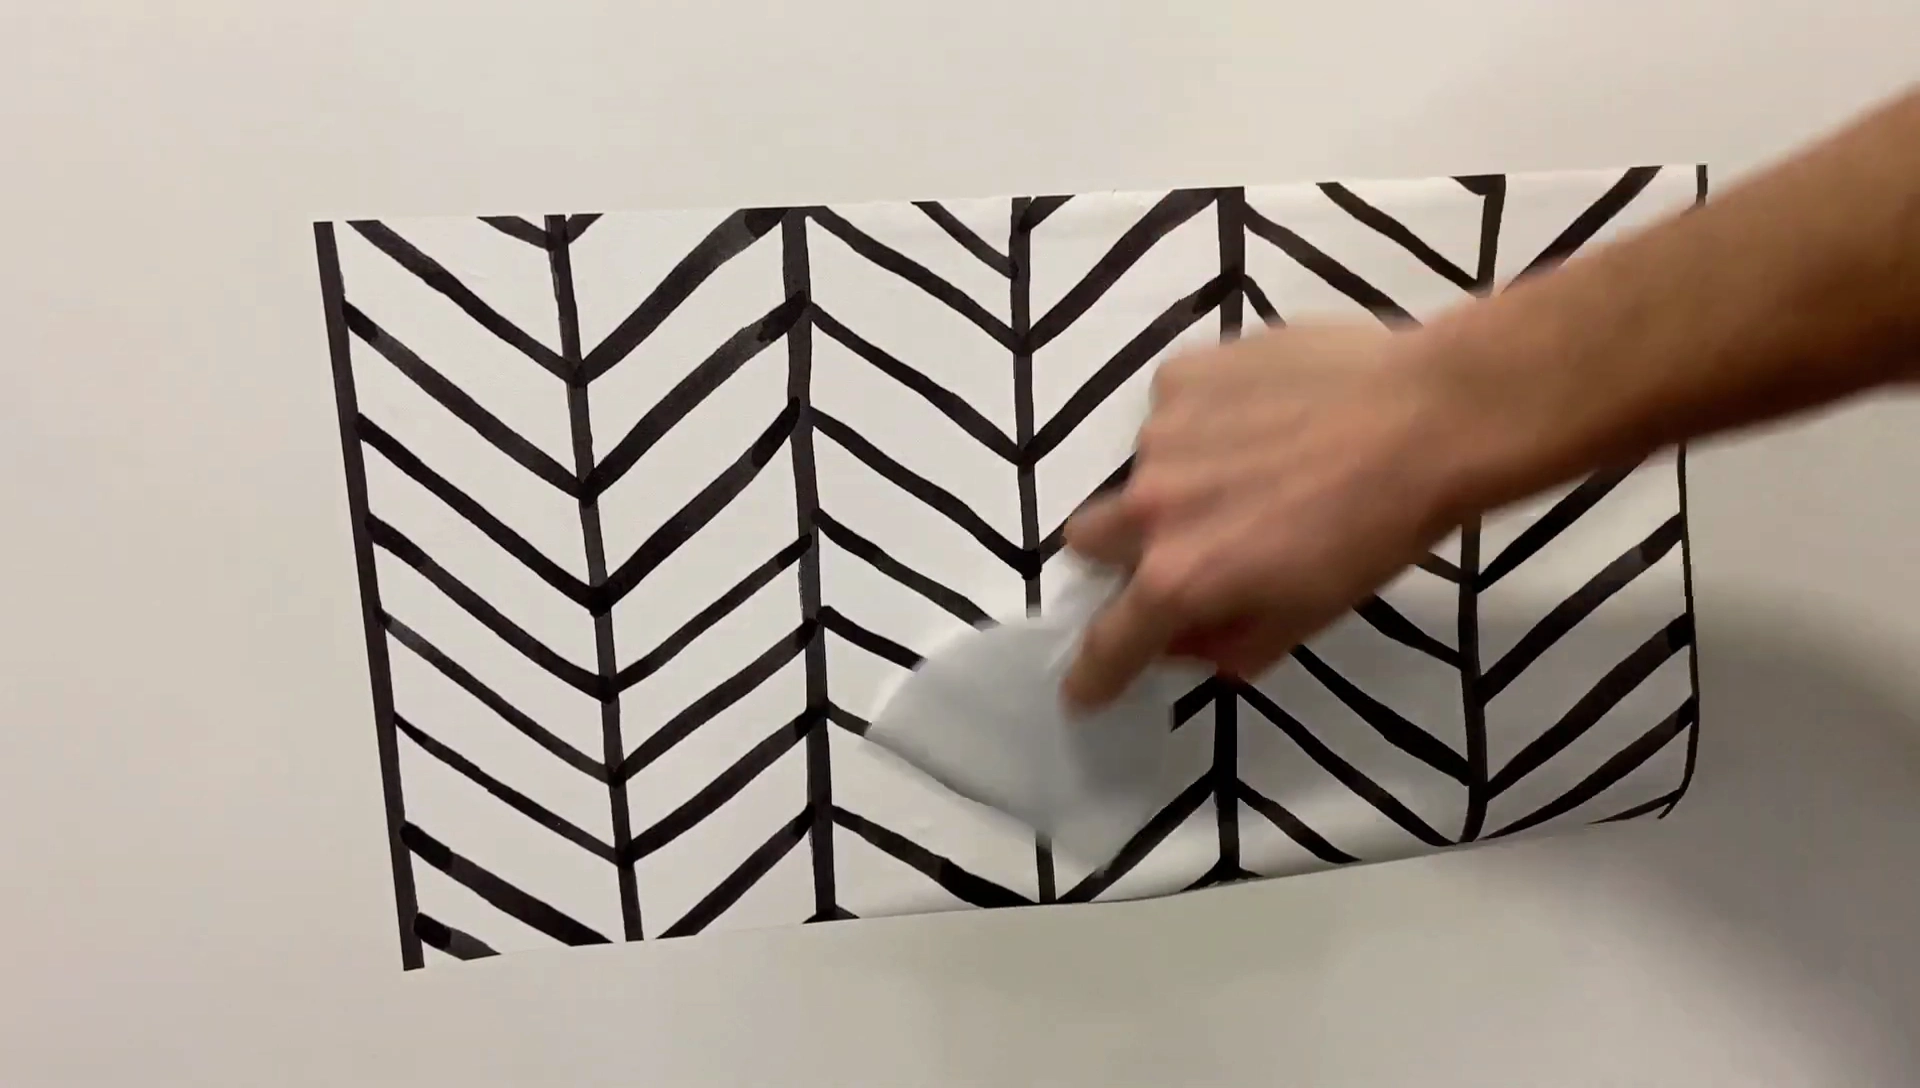
- Slowly peel off the backing as you go down. Smooth the wallpaper with your putty knife. Go from the middle out. This stops air bubbles.
- Let the whole roll hang down. This stops the paper from sticking to itself.
4. Corners and Edges:
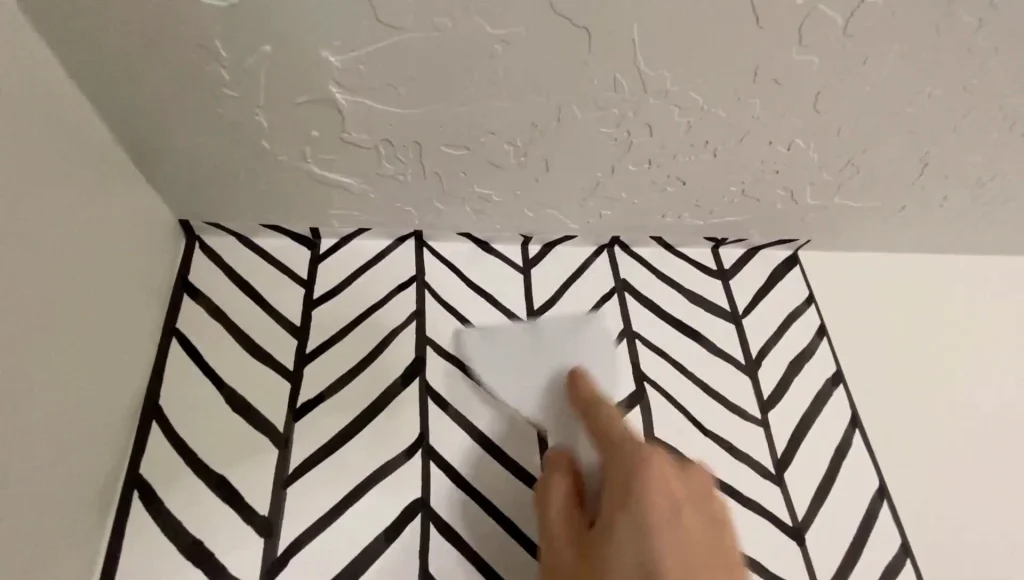
- When you get to the bottom, use your putty knife. Press the wallpaper into the corner.
- Use your utility knife to cut along the crease. This removes the extra wallpaper.
- Do the same thing at the top if you let the wallpaper go over the edge.
- When you put up the next piece, overlap it a little. About a quarter of an inch. This makes it look smooth.
5. Dealing with Outlets and Light Switches:
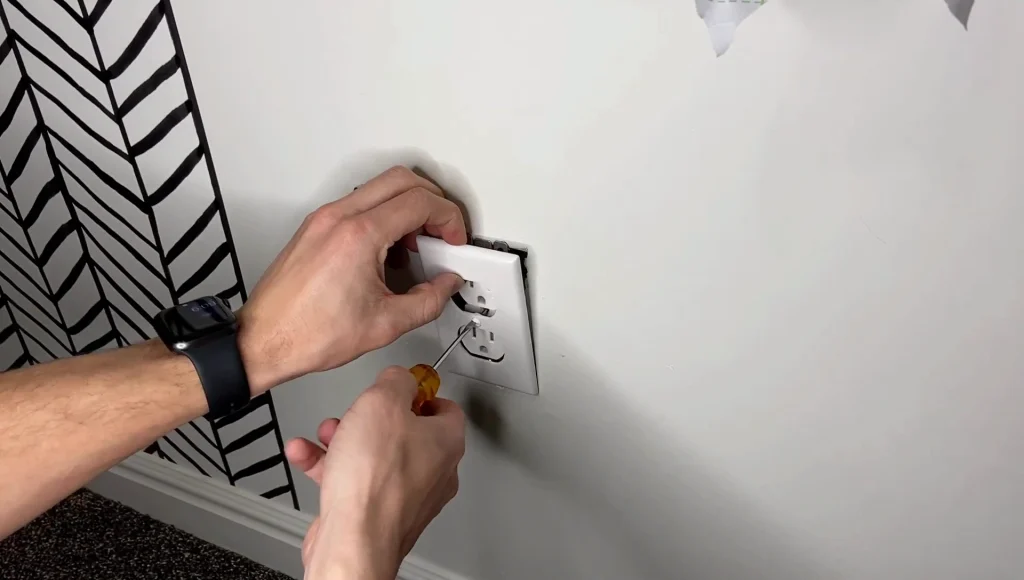
- Be Safe! If you don’t feel comfortable, turn off the power to the outlet or switch.
- Take off the outlet cover.
- Put the wallpaper right over the outlet.
- Use your putty knife. Gently feel for the shape of the outlet box. Move it in a circle.
- Carefully use your utility knife to cut out the wallpaper. Be very careful not to cut any wires. Go slow and be gentle.
- Smooth down the wallpaper. Put the cover back on.
6. Fixing Wrinkles:
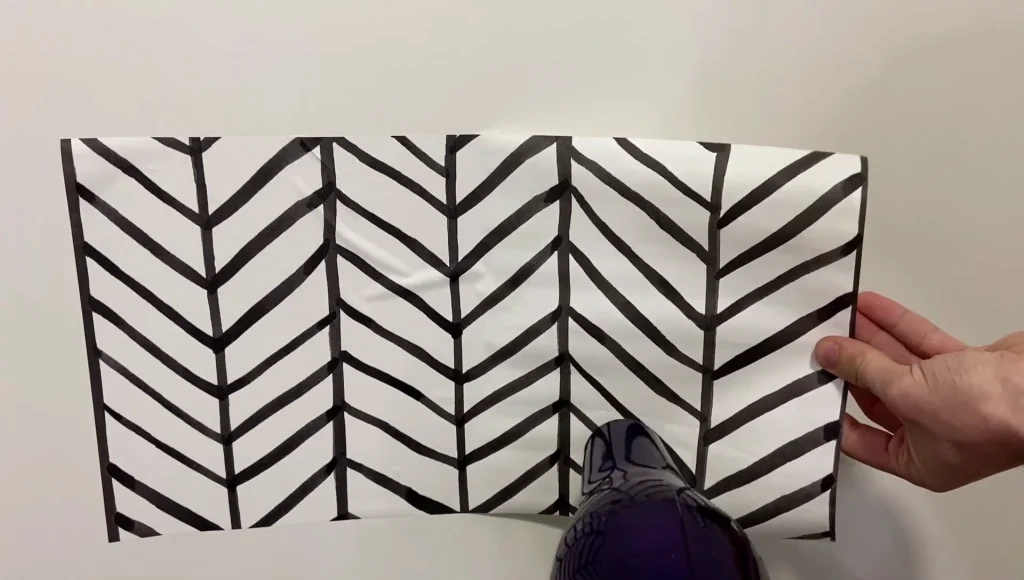
Got a wrinkle? Don’t worry! It happens.
Use a hairdryer on low heat. Gently pull the wallpaper tight. This smooths out the wrinkle.
Then, use your putty knife to press it down.
7. The Last Piece:
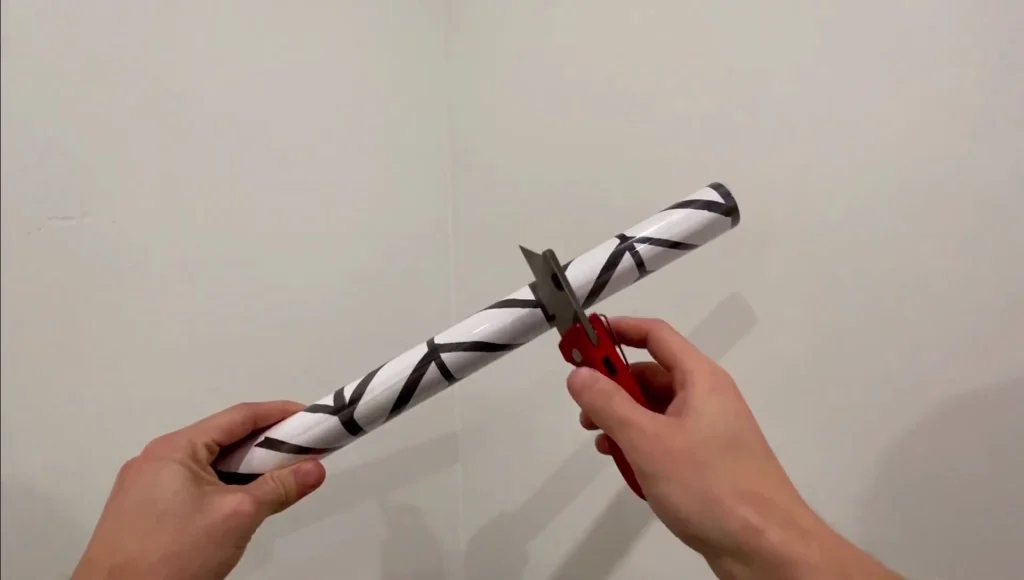
If the last piece is smaller than a full roll, you might need to cut it first.
Take your time. Put it up like the other pieces. Smooth it carefully into the corner.
Final Thoughts
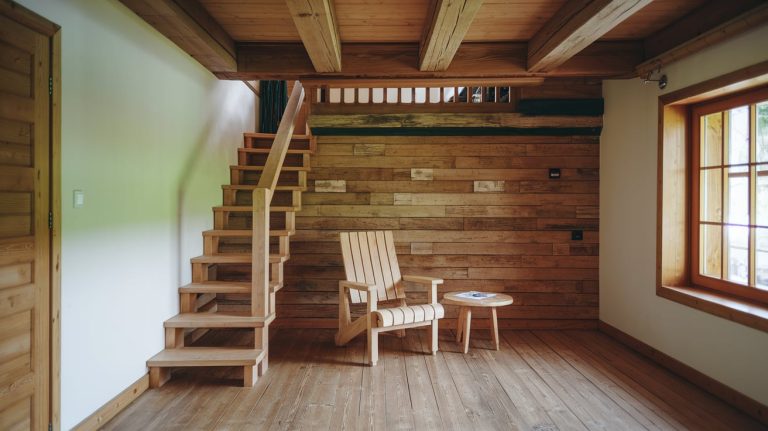
Peel and stick wallpaper is awesome for adding style to your home. And you don’t have to keep it forever.
With a little patience and the right tools, you can make it look great. I know you can!
So, go for it! Change up your walls and have fun!
It is the perfect way to try new things.
Frequently Asked Questions (FAQ) About Peel and Stick Wallpaper
Q: Will peel and stick wallpaper damage my walls?
A: Nope! It’s designed to be removable. It shouldn’t leave any sticky stuff or hurt your walls. I tested it myself!
Q: Can I use it in a bathroom? A: Most peel and stick wallpapers are okay for bathrooms with good ventilation. Look for ones that say they are moisture-resistant.
Q: Can I put it on textured walls?
A: It works best on smooth walls. But it can work on walls with a little bit of texture. Try a small piece first to be sure.
Q: How do I clean peel and stick wallpaper?
A: You can usually wipe it with a damp cloth. Don’t use harsh cleaners.
Q: How long does it last? A: It can last for years if you put it up right and take care of it.
Q: Can you reuse peel and stick wallpaper? A: Generally no, It might be difficult to reuse.